Tuesday, December 31, 2013

Birthday Card

Hi,
I made this card awhile ago but just love the stamp.  It is so cute and I think I will be using in alot.
The stamp is from Technique Tuesday and it is called Hello Chickadee :)  I cut a frame from a Sizzix die and used a blue card stock.  I water colored the chicks.  The sentiment is a Hero Arts letter set.

Thanks for stopping by.  


Monday, December 23, 2013

Christmas Gifts 2013

Hello!

I wanted to pop in and give you a picture of the Christmas gifts I am giving to my grown nieces and nephews.  They have come to expect candy in some form from me each year. 

This is a print out from WorldLabel.com by Lia Griffith.   You can download the file and then some of them you even can fill out what you want to put on them, for instance if you made jam or whatever, you could fill that in describing what was in the jar.   I used a 2" circle punch to cut them out and they fit perfectly on the pint mason jars.

I just filled with candy and tied a bow and tag (Stampin' Up stamp, punch & ribbon).  There were a lot to make so this was very time efficient.

Thanks for stopping by and have a Merry Christmas!

Tuesday, December 17, 2013

Christmas Cards-2013

Hello,
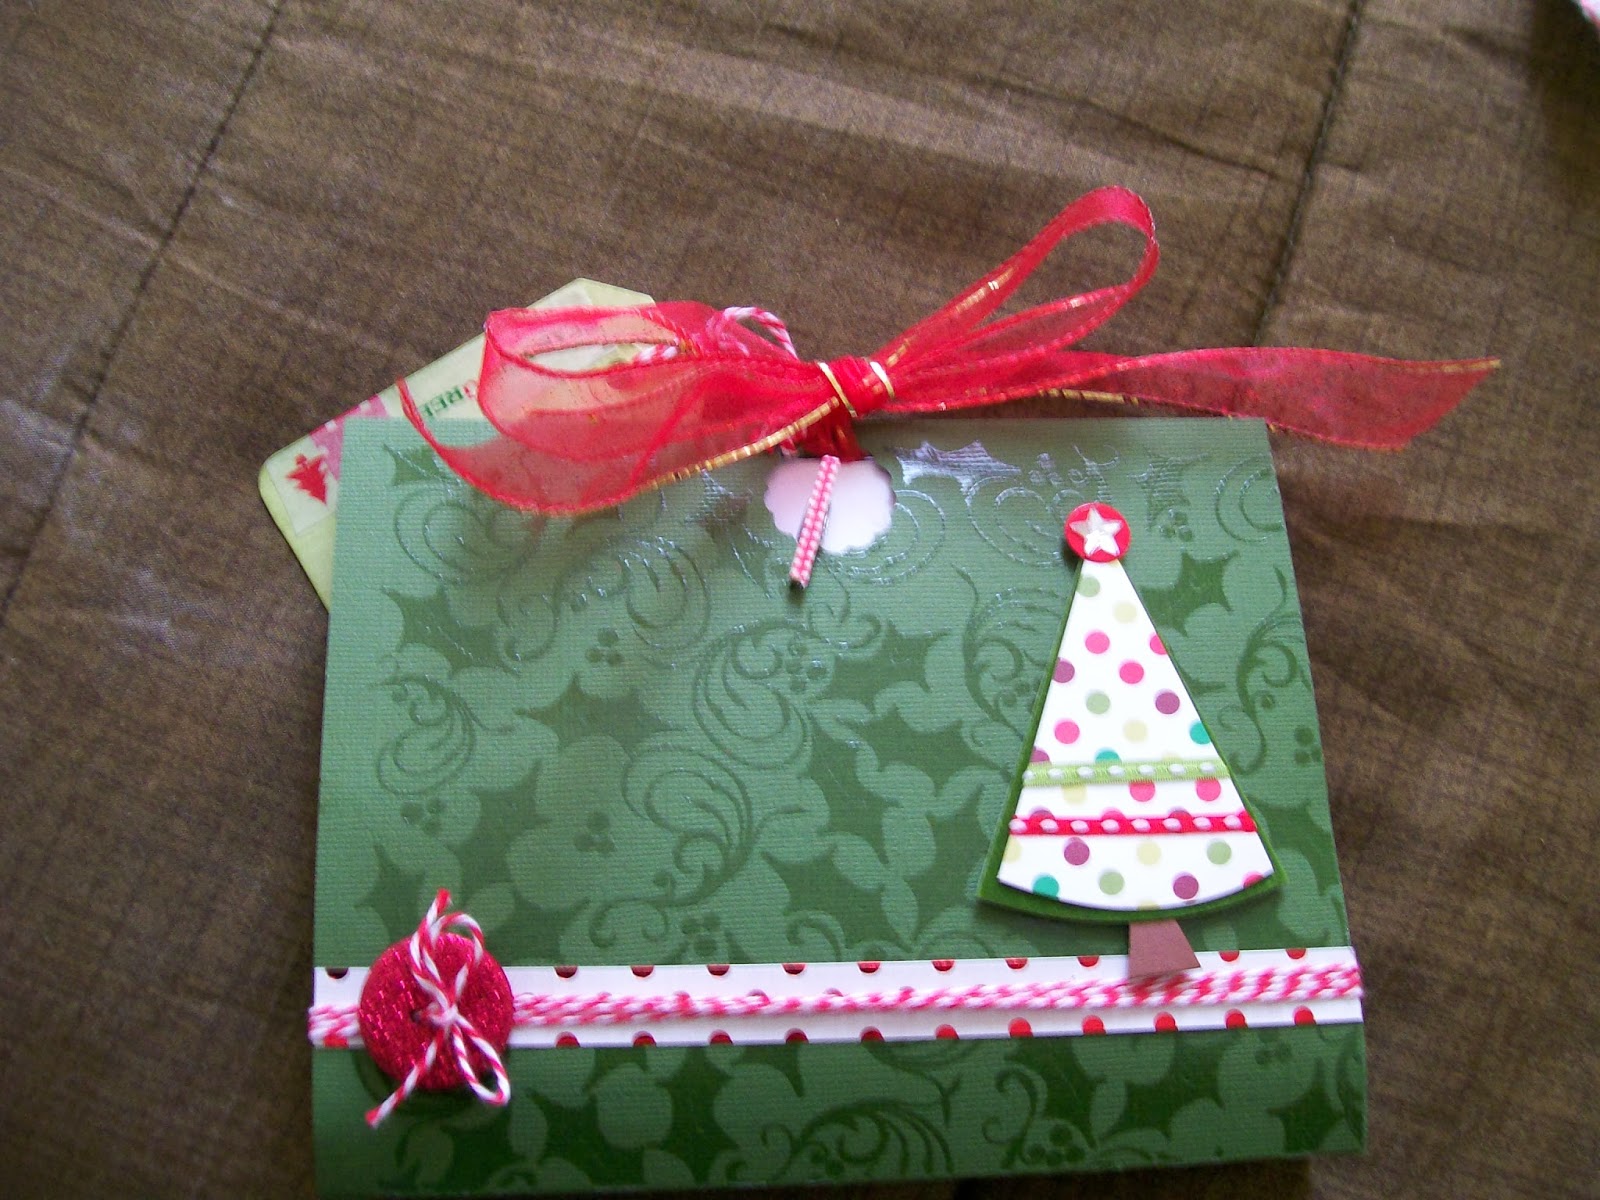
I wanted to post some of the cards I made this year.  It seemed I was always behind schedule this year for some reason!  I did get a new grandchild so the anticipation of waiting for her I think threw me off!  Ha but in the end it all gets done!  Now I just have to prepare for my annual Christmas Eve party for my friends and family.  So hope you enjoy the cards below:
This is a Tim Holtz Christmas stamp with a Hero Arts sentiment .  I couldn't find a tree I liked for this scene so this tree was on a Hero Arts tag stamp so I just masked the rest of the stamp off and just stamped the tree. I created the background by embossing some stars and then distressing with  Broken China Distress ink for the sky and on the bottom of the card I used Iced Spruce Distress ink, then I rubbed the ink from the stars.   I added some sequins for a little shine.  I like the way it turned out.

This is a Wplus9 Woodland Wreath stamp.  I love this stamp it was on backorder for so long I wasn't sure I would get it in time.  I embossed some stars in the background with some silver embossing powder and I used a Papertrey Ink sentiment.  This is a great stamp too!  I couldn't stop using it!  I used a piece of designer paper from the Tim Holtz Christmas kit and some Authentique Christmas paper.  I finished by attaching a small bow to the wreath.
This is all Lawn Fawn Winter Park.  This was one of the first stamps I ordered for this season.  I paper pieced the snow on the bench and I put some Diamond Stickles on it.  I used a sponge dauber and some Momento ink to dab a little glow to the lamp and a little Wink of Stella on the lamp lights. I stamped some snowflakes and  I also added some sequins for a little shine and bakers twine to tie it all in. 
This is a Christmas Art Impressions stamp.  I got this awhile ago from a sale at Joanne Fabrics.  I watercolored this with Distress Markers on Hero Arts Watercolor paper.  I just added a bit of designer paper.  The greeting is from Hero Arts, I have their Christmas Greetings stamp and I use it a lot!!  I think it is a perfect card for a man. 

Thanks for stopping by and have a great holiday season!


Saturday, December 7, 2013

Card Pouch Christmas 2013

Hi,
Sorry it has been a couple of weeks, Thanksgiving is over and gearing up for Christmas!

I will share some cards I made for Christmas soon.

However, I made these card pouches that hold 4 cards and 4 envelopes.  I made them as Christmas gifts for members of my family.  I am always asked if people can buy my cards but I usually don't want to do that so next best thing is to give them as gifts!  I made cards for my daughter's baby shower to give as prizes and they were very well received.  The tutorial for this is on Splitcoaststampers.com, the link is here: http://www.splitcoaststampers.com/resources/tutorials/cardpouch/. Just highlight the link and  cut and paste it into your browser to go to the tutorial.


I love the way these turned out and they are really easy to do. You can decorate the outside anyway you like. The backs of the pouches are shown below. The original tutorial was for notecards but this was adjusted for A2 cards by cutting a 7 1/2 x 12 piece of heavy cardstock and 2 pieces of heavy cardstock cut at 2 3/4 x 7. These two pieces of cardstock are attached on the inside and they form the pouches to hold the cards.   The scoring is the same as in the tutorial. 


Thanks for stopping by and hope you enjoyed!